The Hummingbird
The Hummingbird is the title of this piece. The creature itself has a honorary scientific name "Hippocampus Colibri " . The structure of its face, chosen color pallets and long flowing fins were inspired by birds, lion fish and beta fish and of course leafy /weedy sea drogons and seahorses. In the early design process, I actually considered butting this creature in the air instead of the sea!
This is a Creature that I designed, modeled, textured and rendered using Maya, Zbrush , Substance Designer, Substance Painter, Redshift and Davinci Resolve fusion. It was sculpted asymmetrically and takes advantage of 4K UDIMs to achieve higher levels of detail for 4k and 8k rendering . Displacement maps were baked out in Substance Designer and initial scale patterns were developed using a custom pattern generator that took advantage of the Flood Fill nodes in Designer to propagate any pattern I wanted within the bounds of the sculpted scales. After that, the model was brought into Substance Painter. When I started texturing this creature, Substance Painter did not have UDIM support so each UV Tile got it's own texture set . Additional maps were baked out using Substance Painter. I took advantage of RTX accelerated Baking to bake out all of the 4K maps I needed relatively quickly.
While working, I did a lot of material exploration ( surprise, surprise) for the fins and the scales of the creature. In Maya and Redshift Optix, I set up my shaders to quickly accept any exports I made from substance painter. This was really helpful because I could play with SSS masks, spec maps, transparency and translucency maps in painter and then quickly get an idea of what they were going to look like with shader networks I was was working with in render. I had a pretty beefy GPU ( RTX 5000 laptop ) and I was able to do most of my shader development with Both substance Painter and Redshift in Maya working in Tandem. To add a bit more fun to my creature project, I added a turntable base complete with branch , some xgen grass, coral and of course Mash bubbles! The Mash Repro node also has a "USe GPU" Toggle that allows Maya to offload a lot of the translation calculations to the GPU and this was super helpful for interactively tweaking animation and curve paths for the bubbles, as well as just generating some static bubbles on the seahorse mesh itself .
For final Frame rendering, the Demand of this project on GPU memory increased with size, mostly due to displacement that increases the amount of memory needed as the output image size changes. At 4K , this scene took up a good 10 -12 gb of vram for any given frame- for 8k rendering the demand was much higher.
I used redshift and Maya Render layers to render out all the parts of the scene that I had in passes so that I could have finer control over the whole look of the scene in in Davinci Resolve Fusion. In fusion, I added additional effects like a ripple warp, some smoky overlays, minor color adjustments, depth of field wit the Zdepth pass and time remapping to slowdown the animation slightly. This graph was no joke ( at the time Crytomatte wasn't working in 16.2 so I had a janky alpha extract set up that really added a lot of additional nodes ! ) . In Fusion, the more nodes you have, it turns out, the more important your GPU memory is. On my laptop, I couln't always cache the entire node graph while playing but I could always see all my changes in which ever urrrent frame I was viewing. On my laptop, I could omly really composite everything without lags at 2k but I was able to make 4k and even 8k upscale composites on the latest and greatest Nvidia 3090 GPU [retty seemelessly. Gotta love that memory buffer, amiright?
Overall, this project was a fun way to exercise the skills I know and to try out some new software and workflows. During this whole process, I learned a lot that I can take with me into future projects and I started to understand how the hardware in my computer truly helped me just get things done- lets just say, this project has been through more than a few system upgrades :D
More images and breakdown info at amtarr.com

Final Composite. 4K UDIM Texture workflow ( legacy ) from Substance Painter , Rendered with Redshift Optix for Maya. Final composite in Davinci Resolve Fusion.
Wireframe, Grey Shaded and Final Rendering. Project Created with Zbrush , Substance Designer, Substance Painter, Redshift for Maya, Maya, and Davinci Resolve Fusion.
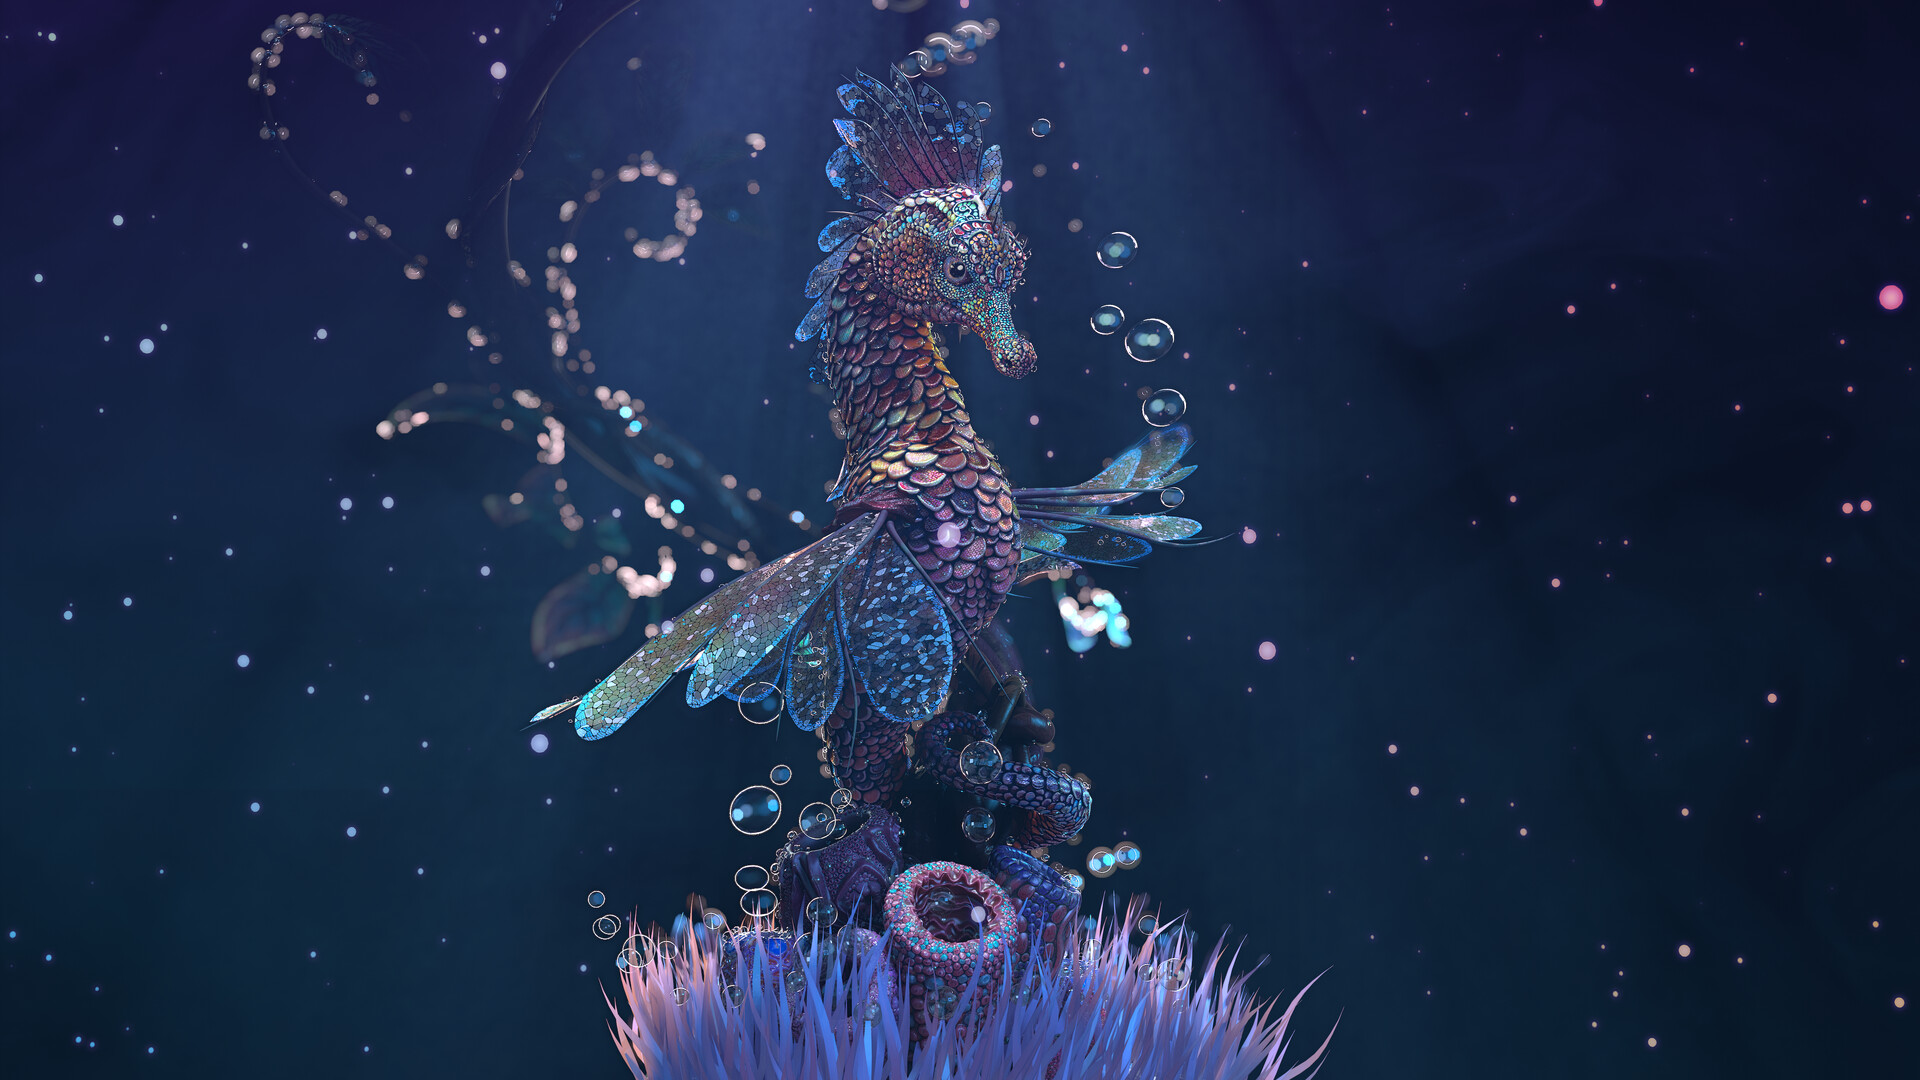
Final Composite. 4K UDIM Texture workflow ( legacy ) from Substance Painter , Rendered with Redshift Optix for Maya. Final composite in Davinci Resolve Fusion.
Wireframe, Grey Shaded and Final Rendering. Project Created with Zbrush , Substance Designer, Substance Painter, Redshift for Maya, Maya, and Davinci Resolve Fusion.
Substance Painter and Redshift Optix in Maya light buildup and material swap.

Screen Capture of Resolve Fusion Node Graph .
How 24GB GPU Memory Enables Complex 3D Workflows | NVIDIA Studio